|
WHEN IT RAINS... IT POURS |
|
JOHN NIOLON |
| Sometimes it
does seem like things accumulate...i.e. Murphy just piles on...just
because he can. Or it could be that I made dumb, rookie decisions
throughout my build progress. Whatever the reason, my
pile began a few months ago when I noticed that my front suspension
was sitting lower that it had been. It's always been low with
a 460 sitting over it. Eight hundred pounds of big block will
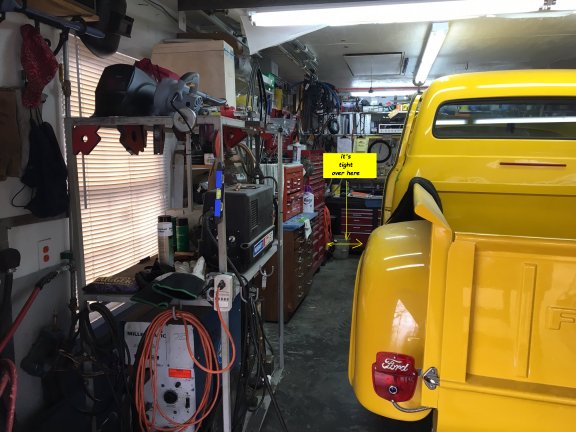
make anything squat. The front valance had only 6-1/2" of clearance
and the front cross member had 7-1/2". My floor jack wouldn't
clear the valance so the front of the truck was parked on two
stacked 2x12" ramps so IF it needed jacking for maintenance I could
get the jack under it.
I have always had to be careful with water valleys and speed bumps and have heard the fiberglass front flip scrape when I didn't get my approach angle right. But after the county repaved my street and raised it 3" I couldn't get out of the driveway since the angle changed, instead having to drive over the yard to a more flat road level. That was when I decided to do something about it. |
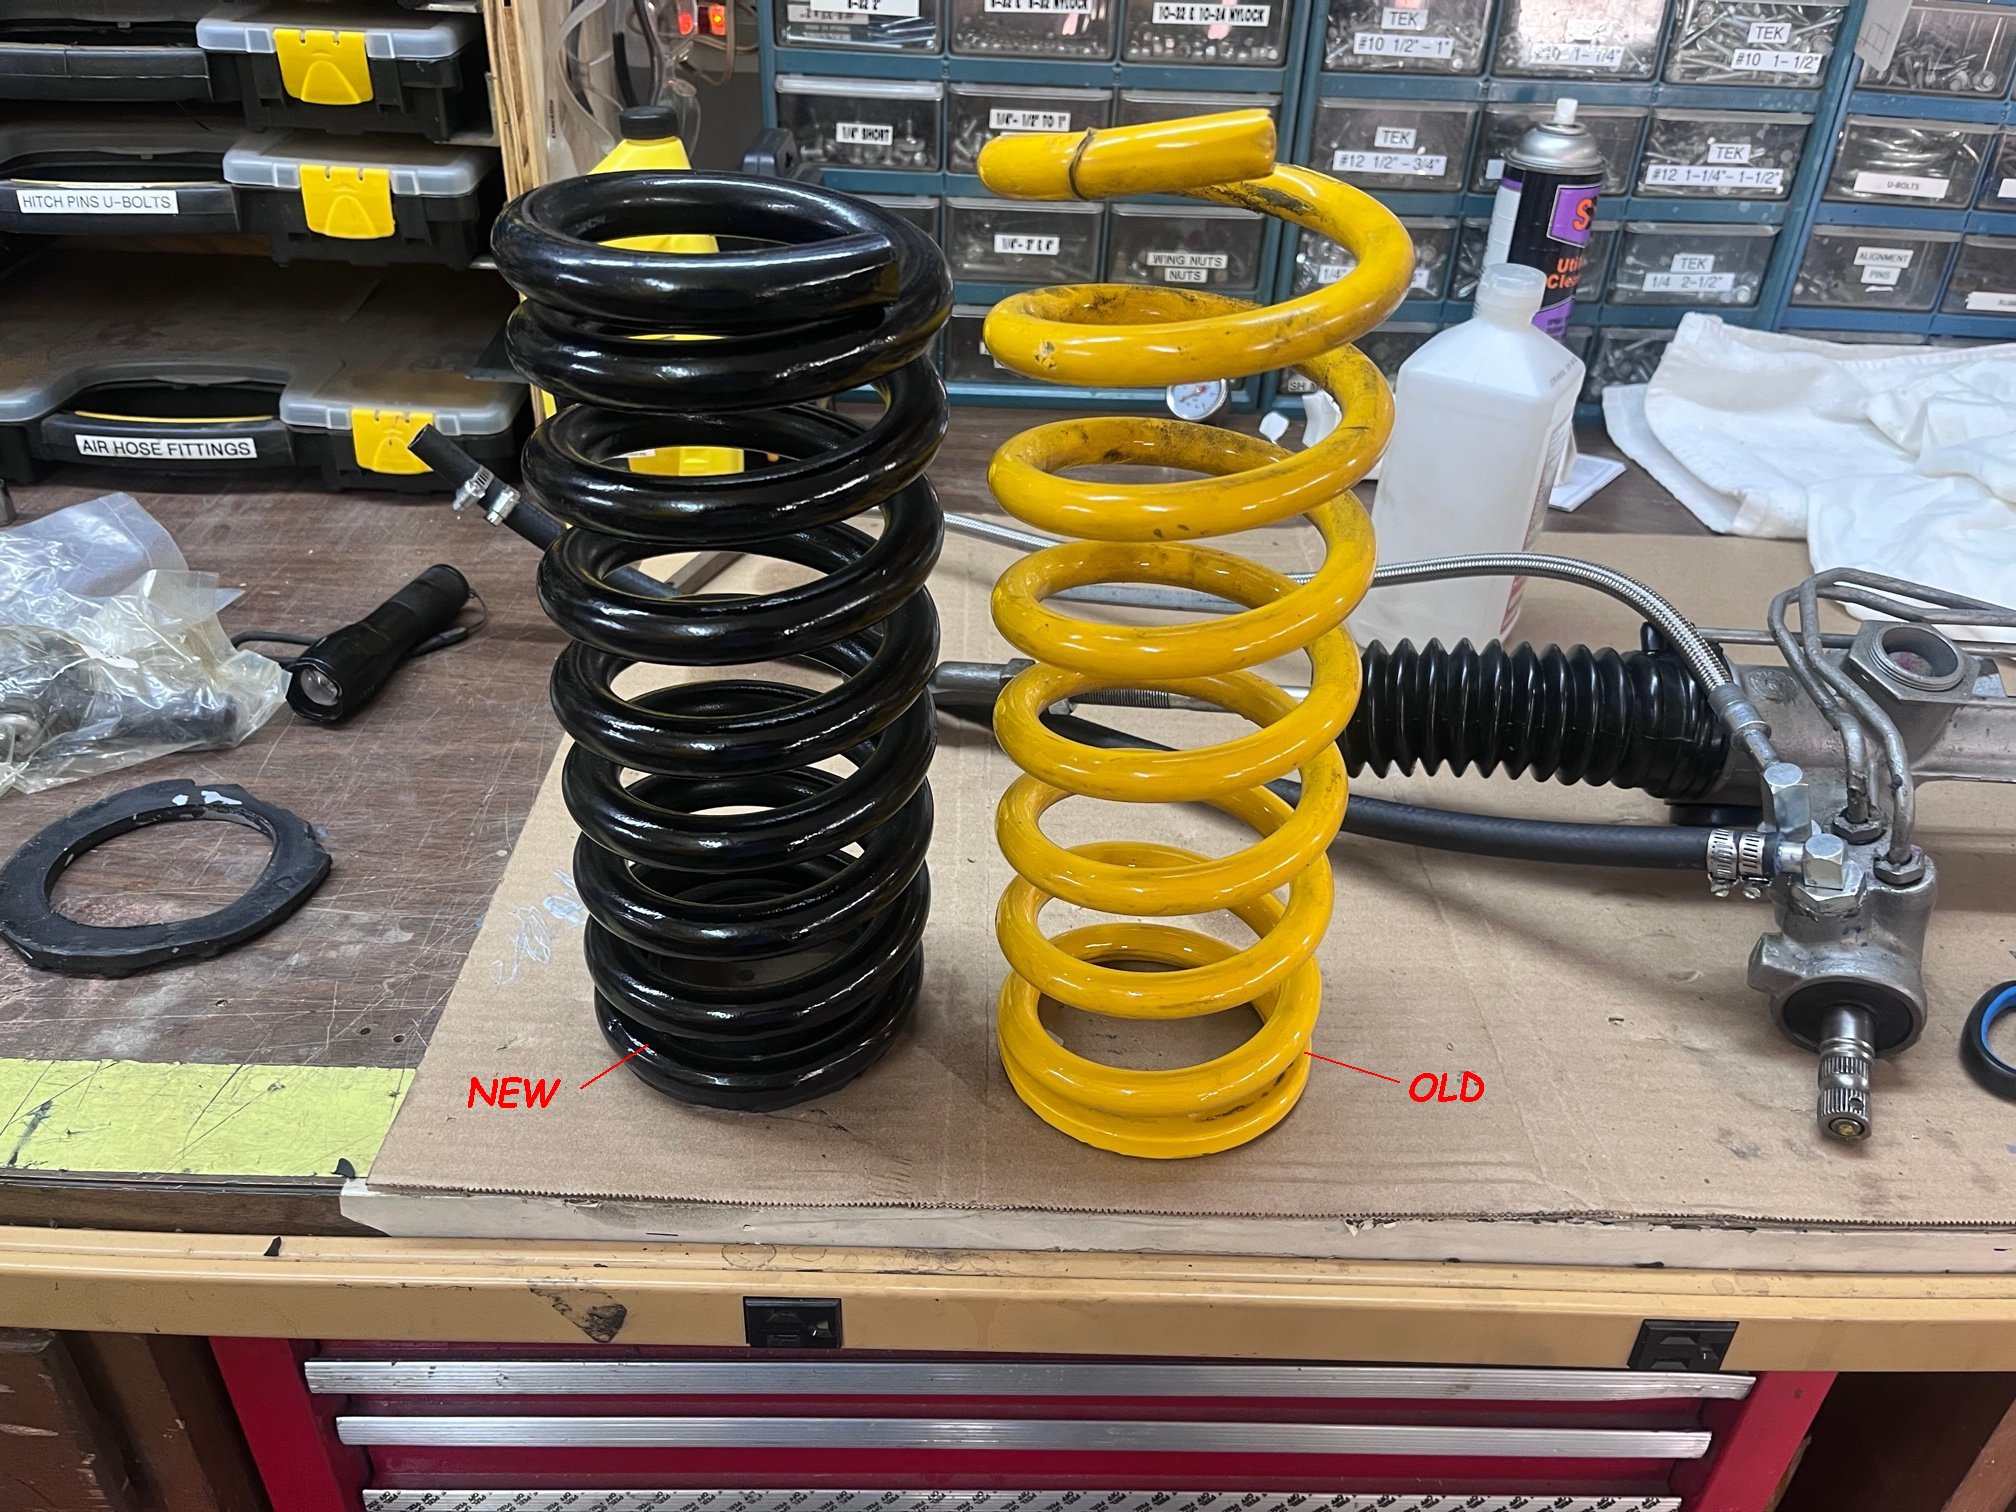
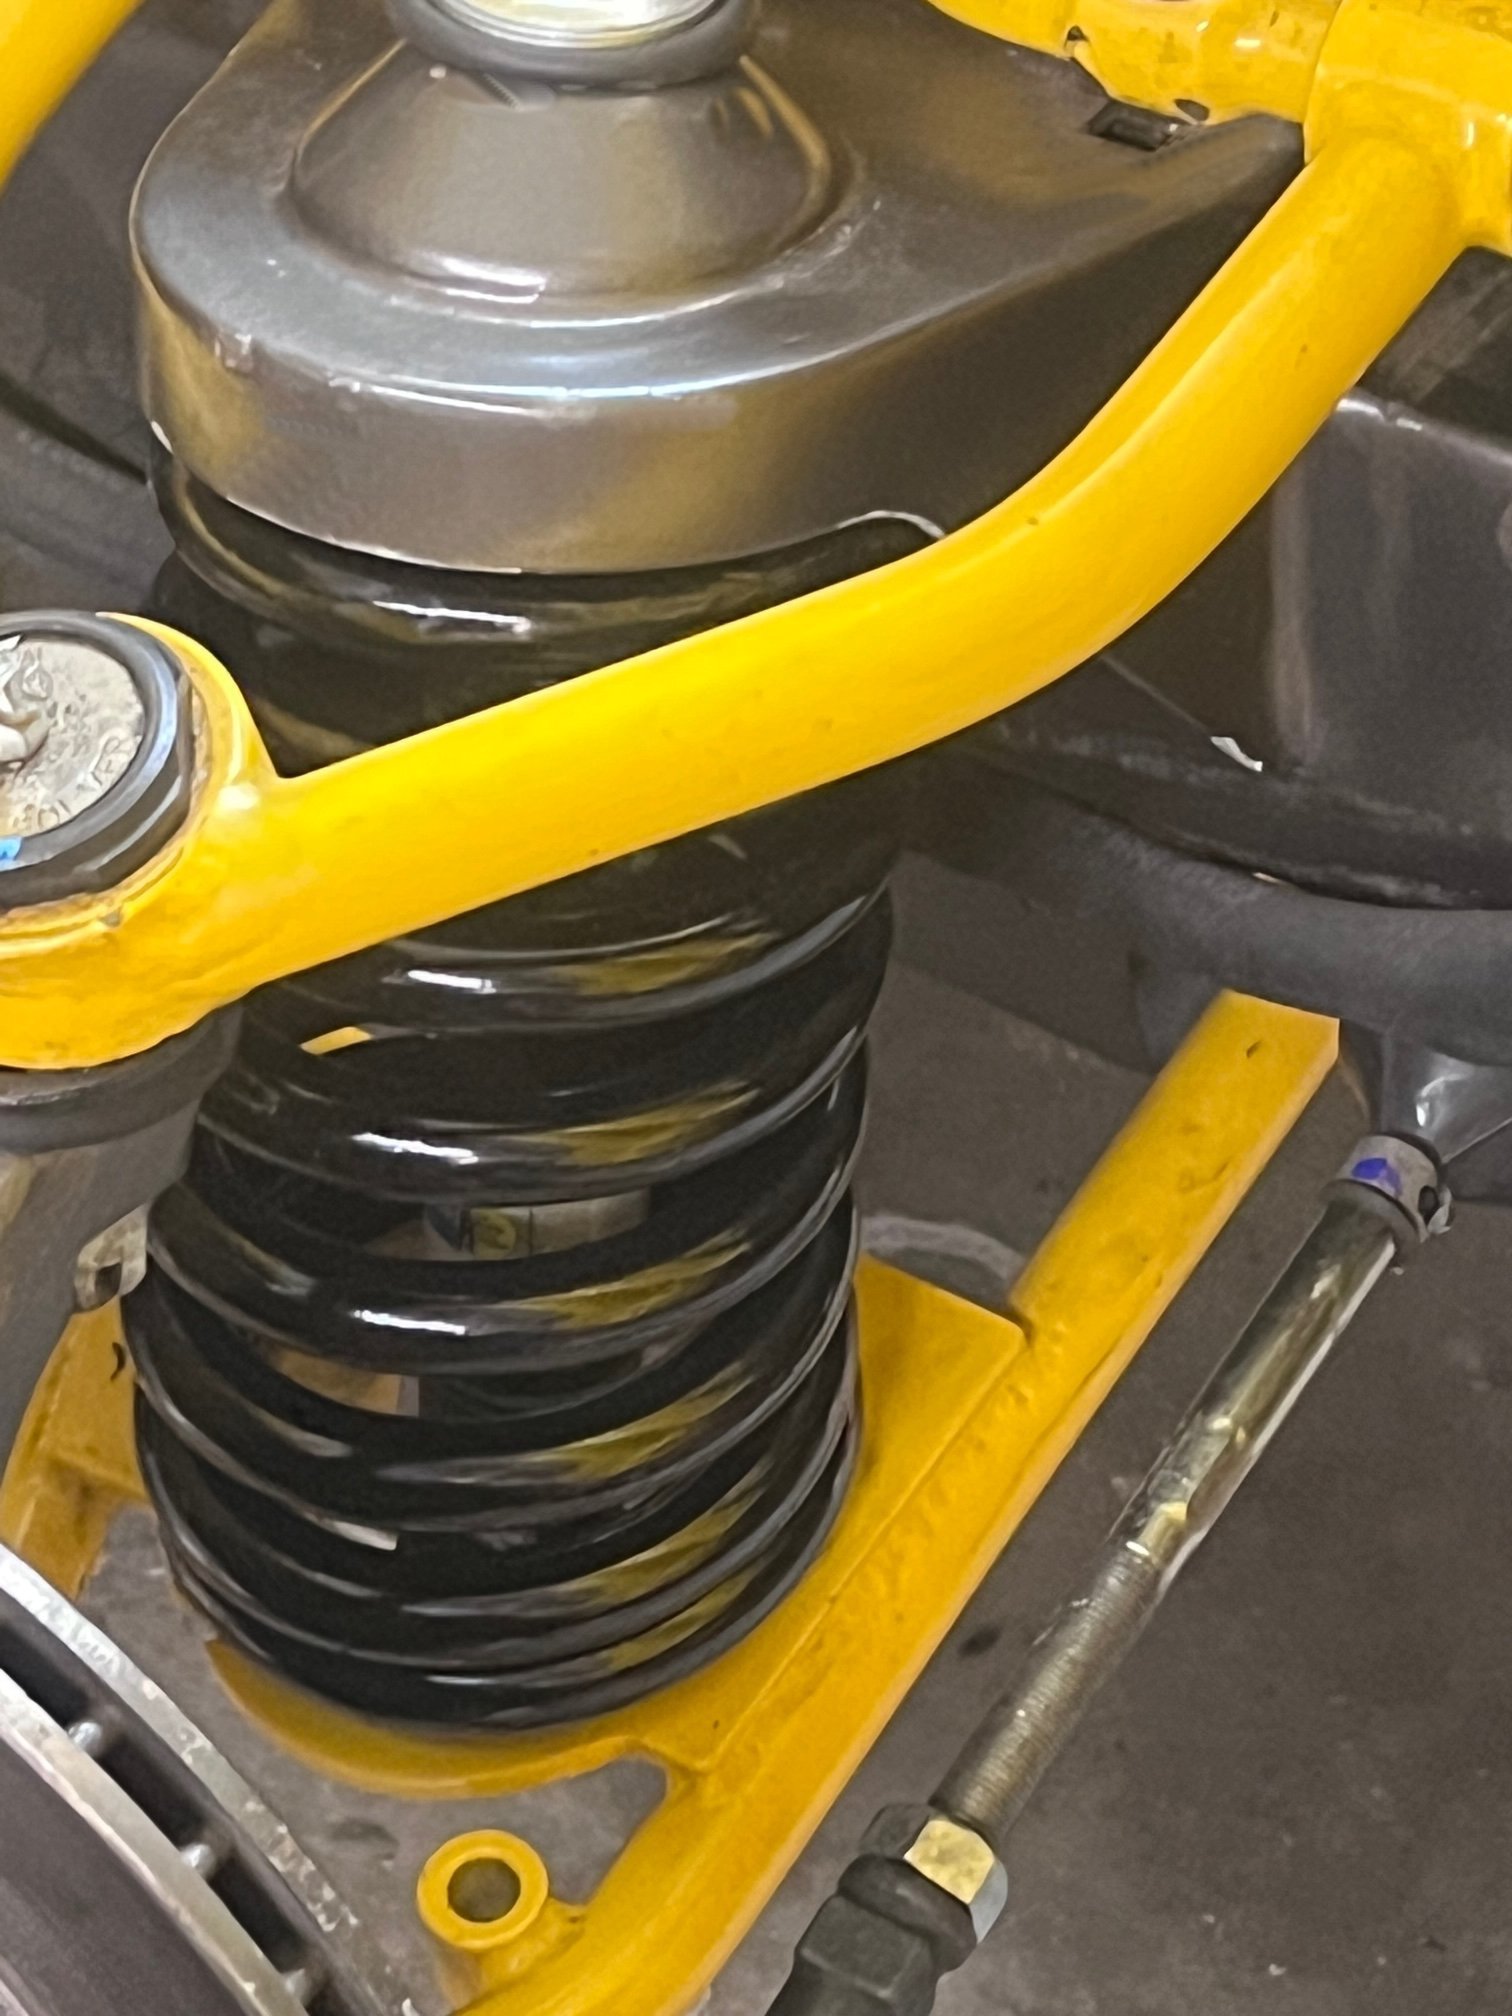
| Studying the situation I found that my front springs had 'settled' over time to a point that I couldn't stick my little finger between the coils. These were 500# per inch springs, eleven inches long... that I bought thinking they would be sufficient to hold up that big block. (could have been one of my first rookie decisions, although several folks advised that weight). If you don't know the rating system... 500# springs means that it takes 500#s to compress the spring 1". So as the springs sagged my clearance issues multiplied. |
| I talked to several spring/suspension makers giving them my specifications... 53 f-100, 460ci big block, Mustang II front suspension, front end weight was 2300#s. Several said "hmmmm...." two said "wow!" and all suggested heavier springs but no one had anything stiffer than 700# in the length I needed and they weren't sure that would work for me. I finally found someone that spoke 'springs' (Landrum Performance Spring landrumspring.com) We talked at length about springs and ride and I emphasized that I didn't want the truck to ride like a log truck, but wanted the ride height restored or better. He suggested 750-800# rate but he only had them in a 12" height. He suggested cutting off the extra with a cutoff wheel. Order placed. Springs sat on the bench waiting on energy to tackle removing the entire front suspension to accomplish this part. End of the bottom of the pile. |
| Next thing that jumped on the pile while I had front end jacked up to check another issue (electrical) I bumped against the passenger tire and noticed side to side movement (without the rack moving.. hmmm... The slop was in the tie rod end and it was pretty bad (drivers side was fine with no play. Haven't figured out the cause of that...plenty of grease and it was torqued to spec... another hmmmm. So that needed replacing. End of first pile on. |
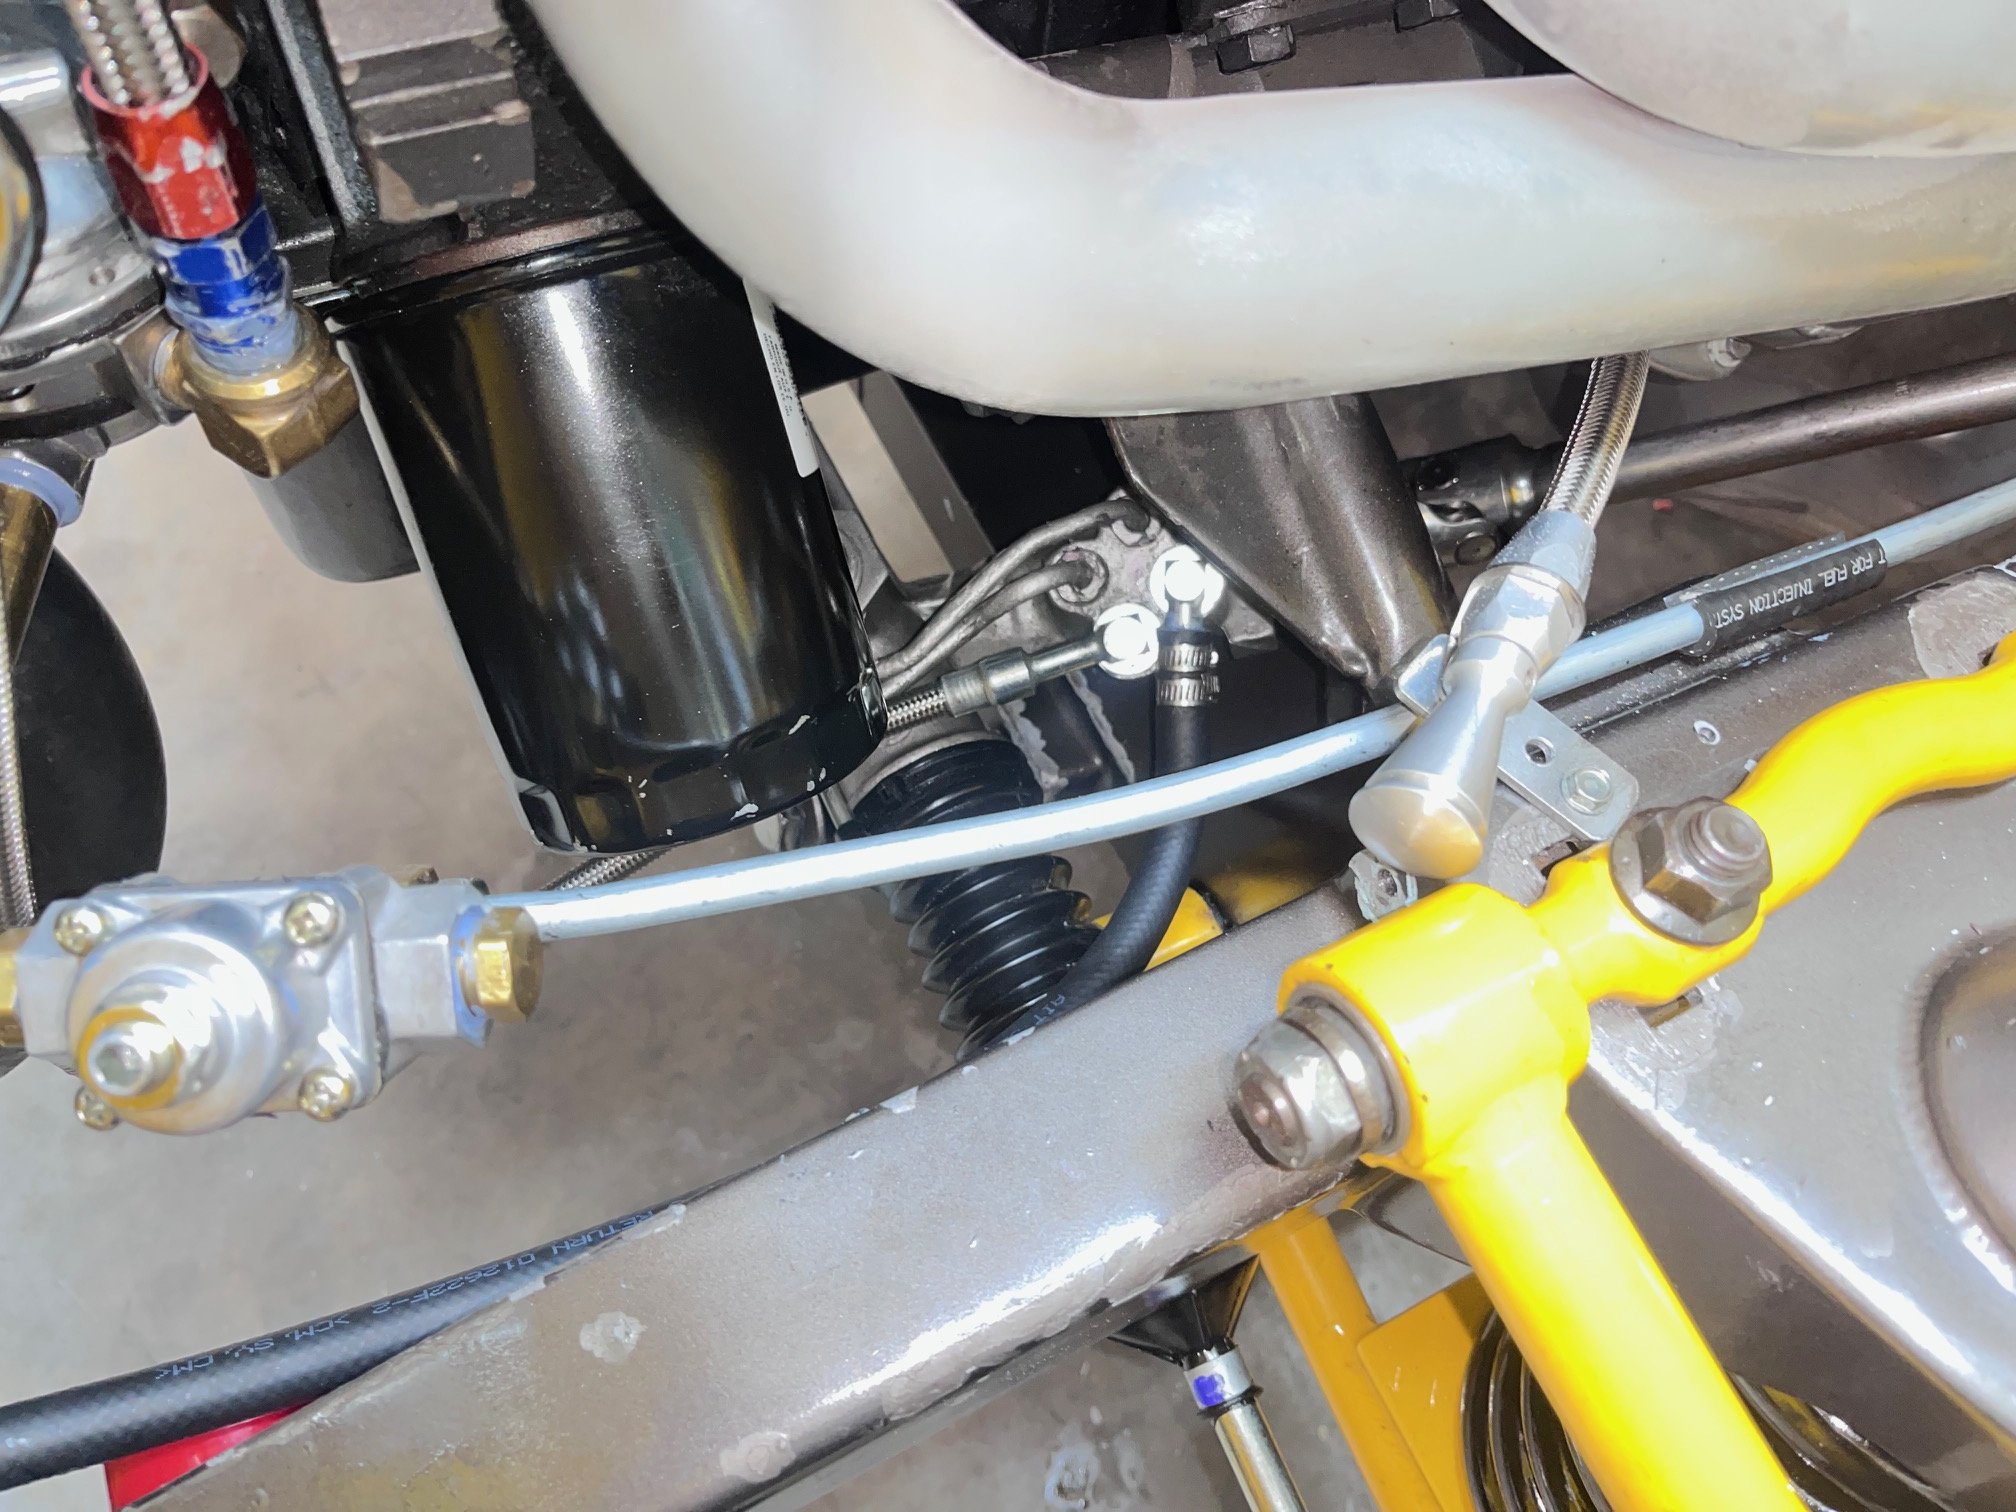
| A week later on a beautiful day I was cruising and as I made a slight left curve I noticed the steering was extremely hard to turn... I was only 3 miles or so from home and 3 right turns so I limped home planning to check it out there. Those three turns were tough for an old guy. At home when raising the front flip I found the power steering return line from the rack to the pump had come loose and liberally sprayed power steering fluid over the whole front of the engine and the inside surface of the hood. It was a high dollar Teflon/stainless steel braided hose that has split at the pump end, the screw clamp had loosened and allowed the hose to slip off the fitting on the pump and redecorate my engine room. Quite a mess. Top of the pile. (so far). |
| I got it in the garage and up on stands and attempted to remove the bad hose from the rack. Anyone with a Mustang II rack knows you can't get there from here. The two line fittings are almost touching and behind headers and stuff making it impossible even with wrench conversions, stubby wrenches and socket destruction. You have to pull the rack which includes disconnecting the steering linkage hidden nicely behind the headers...to get to the fittings. An hour or so later and two tie rod ends that refused to come loose even with adequate hammering, explicit language and finally a puller/pusher tool added to the pile.. and they jumped up and down on the pile some, but the rack was on the bench. I'm an old guy with bad shoulders so I punched out and headed to the shower and the Tylenol. |
|
|
| After a day of rest I replaced the high $$$ hose. I cut away the old SS hose and used the fitting and a section of power steering/hydraulic hose with double American made screw clamps that I found at a real hydraulic shop (when I asked at the first auto parts store for it... the lady at the counter stated "I ain't never heard of dat, but we got vac-um hose ") "Let's go Autozone" |
| After that was repaired and waiting for the tie rod ends to arrive I looked at the front end and decided since I had half of it removed...might as well do the springs.... thinking ensued. I got the floor jack under the passenger side lower control arm and jacked it up some to get the tension off the shock....removed the shock and loosened the lower spindle to ball joint nut ... just a 1/4" to get some slack in the assembly... a couple of medium taps with my persuader (30 oz. ball peen) and it came loose...removed the nut and unjacked the lower control arm... A little wrestling with the spring and it came out. After comparing the two springs I saw some problems. The actual original spring was longer than the new one... but being a 'softer' spring it would compress more (addressed in the next paragraph...) I decided to try the new spring without cutting it off... worst case ? if it was too stiff I'd take it out and cut it. |
|
|
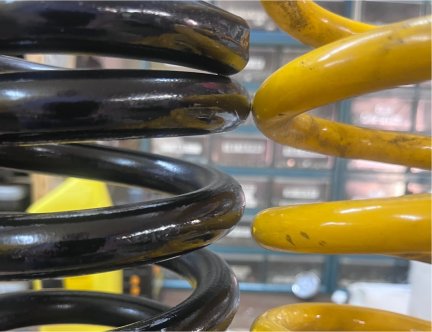
| The Murphy pile started to grow again. I took one of the new springs and raised it up into the spring pocket in the top hat. Well, I tried to.. it seems that this 5" diameter spring was too fat. The spring pocket was 4-13/16" in diameter ... the spring was 4-7/8". It was almost impossible to grind out the spring pocket...at least for this old guy with bad shoulders. Grinding down the spring was the only choice. A 4.5" grinder and a couple of hours got it done. Grind a little, check the fit, grind a little, check the fit times two. Once it was right I smoothed it down with a flap wheel and painted it. Not a really big deal, but time consuming. Another bit of bother was the number of times on and off the creeper. Actually the "off" part was the worst part. Gravity gets stronger as you get older, and I need something to pull up on to get vertical again. Another day's work behind me and I had to wait for paint to dry, so again I clocked out and went for a shot of Tylenol... a double. |
|
|
| The next day
was already full of other things so back a day later the install
began. I've always been extremely cautious around spring
compressors (amputators). I have both kinds and hate them both
so I tried the other way...I put the spring up inside the perch and
strapped it in place, then turning it to the right position so the
lower end of the spring lined up with the spring stop on the lower
control arm. I pulled the lower control arm up and set the
spring with the back side sitting on the lower perch. I jacked
up the control arm with the floor jack keeping everything lined up.
Just to make sure everything stayed where it should and not
careening off garage walls, I ran a length of 3/8" all thread thru
the shock mounts and bolted it on each end, (I'm a belt AND
suspenders kind of guy with large heavy things that might fly
around) then started jacking.
I was concerned that the spring wouldn't compress enough and the truck would lift off the jack stands before the lower ball joint stud seated and I could get the nut on. I made a backup plan.
|
|
|
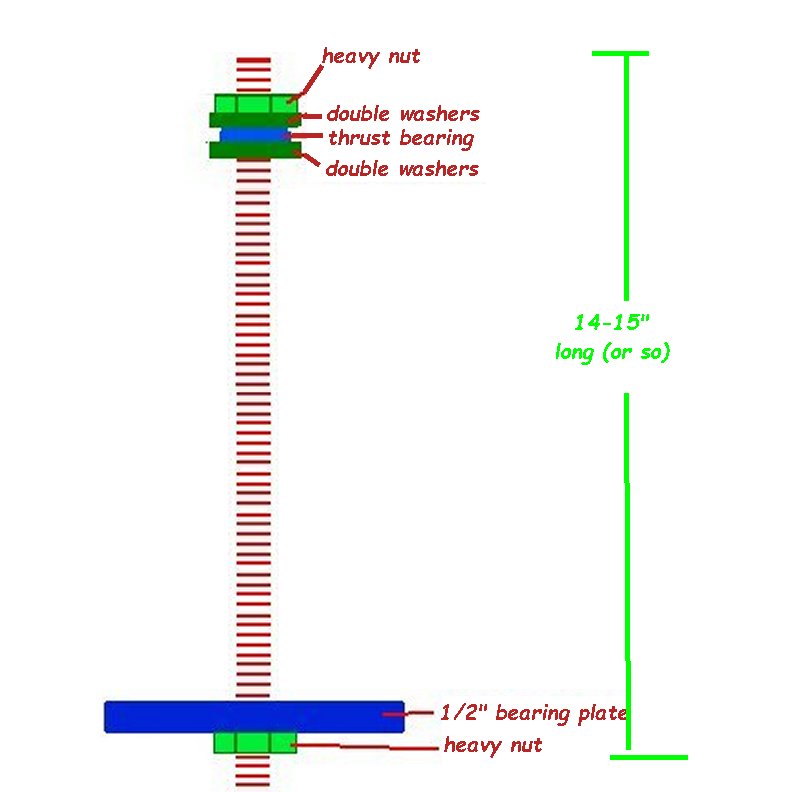
| I fabbed up an internal spring compressor that takes the place of
the shock with 3/4" all thread, heavy nuts, doubled washers and a
3/4 i.d. thrust bearing. It slides up through the lower shock
mount with a bearing plate and heavy nut on the bottom... through
the upper shock hole with doubled washers, a thrust bearing and a
heavy nut on top. (A
heavy hex nut is thicker and heavier in weight. The part has a
larger diameter across the flats. The load strength is far
higher than the standard hex nut, meaning it can bear more weight
easily.
If I can't get enough lift from the floor jack... the all thread tool and an impact wrench will squeeze it a little more. I will admit that getting the first spring in was easy... The jack brought the lower control arm right into place and I got the bolt snugged up. I torqued the castle nut to 80 f#s and stuck in the cotter pin. One down and one to go. |
|
|
| I did the passenger side first for a reason. My garage is small and the truck is a tight fit on the drivers side. The passenger side had plenty of room for the first try. On the drivers side I have about 2 feet of clearance between the truck and a tool cabinet and the wall. More fun and I think I hear Murphy snickering somewhere out of site. |
|
|
The second side went better than the first, albeit more cramped and it all went smoothly. I had one uh-oh I didn't realize until bolt up time. Using the floor jack and a wood block to lower the control arm, when almost at the full extension of the spring, the block slipped out and the spring pushed the control arm back completely and the spring jumped down. Heart skipped a beat then settled down. More on this later. The install went well until the lower ball joint stud entered the spindle hole, but not enough to catch a thread with the castle nut and the more I jacked the truck started rising off the stand. Don't know why this happened but I got to use my handy home made compressor tool to bring the stud up into the hole and started threading the castle nut on. It went about halfway down the stud then got tight.... at that point when I turned the wrench the stud turned inside the ball joint. I pulled it off and inspected the stud and found my uh-oh. When the block slipped and the control arm came down hard, it buggered up the threads on the engine side of the stud. It's a 9/16"-18tpi thread and of course I didn't have a die that size... who would ? That finished that day and I was off for more Tylenol and Amazon to order a die. As luck would have it I found a die quickly and it was one day delivery (take that Murphy !) |
| The next afternoon after the brown truck came by I chased the stud threads and the nut went on like it should. If you need a 9/16"-18 die, I got it. Then it was torque it down, remove the spring compressor and install the shocks. Springs done and onto re-install the rack. |
| I had already installed the new tie rod ends and turned them the same number of rounds that I counted taking the old ones off. The rack is reasonably heavy and you have to do three things at once to install it. I put the rack on my floor jack and rolled and jacked it into place (relatively). While trying to align the mounting holes, hold the spacers in place and get the large bolt through the rack and into the front cross member, you also have to align the steering linkage from the steering column with the splined shaft on the rack. Of course you are working on two sides of the cross member at the same time and doing three things with two hands and wiggling the floor jack closer with your foot is more fun than it ought to be. I got the rack close enough to align the steering linkage and held it in place with the set screw... after getting out from under it and making sure the steering wheel is centered and tied down. When the linkage was secure I could wrangle the rack into position to get the bolts, spacers and nuts aligned and started. Some impact wrench work and it was secure. I released the set screw on the linkage and made sure it was correct then retightened and applied the jam nut. I checked the toe in on the brake rotors on each side and had to adjust the tie rod ends slightly to get the brake rotors parallel with the frame rails. My first real excursion will be to the alignment guy one town over, but I had to get it close enough not to scuff off too much rubber. Once I get the wheels back on I'll do a tire center line check and see if it needs tweaking. That ended that day. I heard a shower and acetaminophen calling, so kill the lights and shut the door. |
| So, today I checked all the bolts/nuts, attached the p.s. hoses, filled the reservoir and cranked it watching for leaks. No drips...no spurts and no floods. Put the wheels back on and backed it out of the shop. Nothing fell off. Went for a neighborhood ride and it rides like a new truck...the steering before was stiff even with the power rack... Now it's smooth and the truck rides better for sure. I'm headed tomorrow for alignment. The final product was a 3" raise. I can get out of the driveway now and no need to park it on the stacked 2x12s to get the jack under it. It measures 9-1/2" to the bottom of the front valance. It was worth all the problems and hassles. Now... on to other piddly projects that I had left hanging and I hope Murphy has moved on to some other poor soul's shop. |
|
|